
DIY: Sponge Art
Learn how to make your own unique art with items already in your home.

More stories from Symone Henderson
Welcome back to this weeks DIY Monday! If you’re new here then you should know that we do our best to find easy, fun and simple DIY’s with items already found in your home.
Sponge Art
First we start by collecting our materials:

- Construction paper or craft paper
- Cotton balls (the amount depends on how many colors you’re going to use)
- Markers (Darker colors work best)
- A cup of water
- Scissors (if you plan on cutting around your design)*(This part is optional)* First, draw a design that you’re going to want to go over with the colors you’ve chosen.
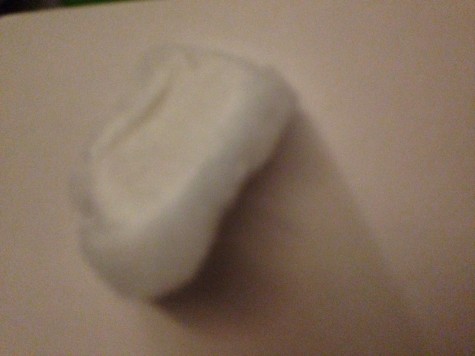
After gathering your supplies you’re going to take a cotton ball and dip it in water lightly. After dipping the cotton ball, it should only be damp, if not, it will be too wet for the marker and the paper.
Third, get the first marker and start dotting the dampened side. I found that dotting it works better than actually rubbing the marker on the cotton ball.
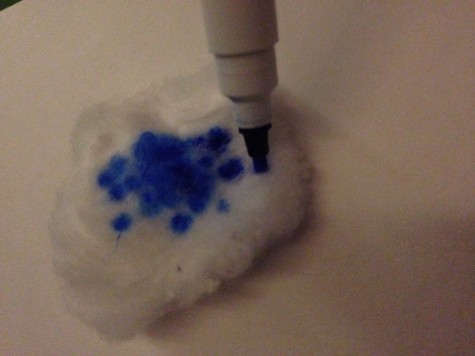
Fourth, after you’re happy with the amount of color on the cotton ball quickly apply it to the paper and press down firmly.
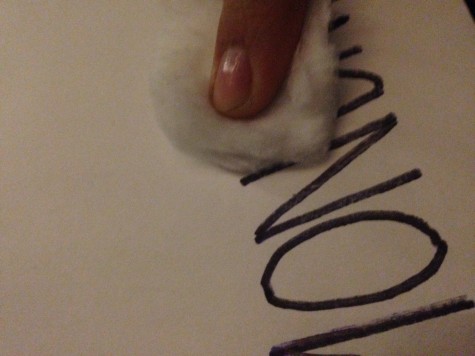
Lastly, repeat those steps until you’re happy with the colors you used.
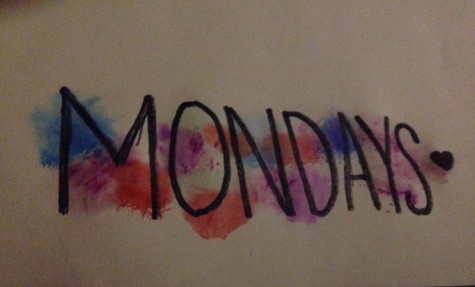
Now you have your very own sponge art picture.