
Do It Yourself: Decorating Cork Boards
This DIY cork board is a great gift to make for a friend or a wonderful way to amp up room decor.

More stories from Chloe Grass

For this decorative DIY cork board, I used a cork board found at our local Hannah’s Home Accents craft store, a wooden frame for a boarder, and a variety of papers and paints as well as mod podge. I started by painting my cork board with acrylic paints.
Before starting, I chose a color scheme that would look nice together. I also took into consideration the room I was going to display it in and made sure the colors complimented each other. According to Houzz, masking tape can leave a clean design. Use masking tape to create a design on the cork board and then spray paint over the entire surface. Let it dry and then remove the tape.
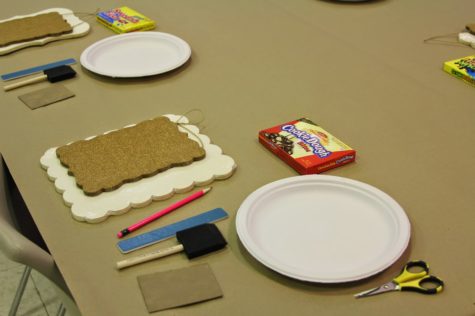
Funcheaporfree had the clever idea of using wrapping paper to cover the cork board as well. This way, anyone can easily change the wrapping paper instead of committing on a certain color or design. While waiting for the paint to dry, I traced my wooden frame on my desired choice of craft paper. I cut out that outline and used mod podge to glue the paper on the frame. I then used metal thumbtacks and a variety of buttons and using hot glue, or any other kind of strong glue, to stick on the buttons to the thumbtacks. I took the painted cork board and then glued it to the center of the frame. To make it a little extra and cute, I used different embellishments to decorate my cork board. My final step was to glue a thin strip of ribbon along the border of the frame to hide the wooden edges and then place my photos on using my thumbtacks.
“It was very fun and I enjoyed mine a lot, it’s still hanging in my room,” junior Ella Maggio said on her corkboard.